The aim of this article is to provide a concise introduction to Kafka’s core concepts. We will briefly explain how Kafka works and how it can be integrated into Spring Boot applications.
To make the whole thing more practical, I have prepared a very simplified example application based on Spring Boot. So you can follow every step hands-on and test it directly yourself.
We will start by covering a high level unterstanding of Kafka to build a solid foundation. This introduction is largely based on the official Kafka documentation.
What is Kafka?
As the official documentation states: “Apache Kafka is an open-source distributed event streaming platform. It is designed to handle high-throughput, low-latency data pipelines. Companies use Kafka to process real-time data, build event-driven systems, and connect various applications reliably.”
What is event streaming?
Event streaming is the practice of capturing data in real-time as it is produced (“events”) and processing or reacting to it immediately. This is useful for things like:
- Logging user interactions on a website
- Processing sensor data
- Financial transactions
- System monitoring
While Kafka enables real-time processing, it also allows persistent storage of events for long-term use. Events can be retained indefinitely depending on your configuration.
How Kafka Works
Kafka is based on a publish-subscribe model. Here is a breakdown of the main components:
Topic
A topic is a category or feed name to which records are published. Think of it as a logical container that groups related messages.
Producer
A sends (publishes) records (events) to a topic.
Consumer
A consumer subscribes to one or more topics and processes the records published to them. Typically, multiple consumers can work in parallel by forming a consumer group.
Partitions
Partitions divide a topic’s events into logical segments. When events are produced, Kafka uses a key (if provided) to determine which partition the event will be written to. Partitions enable parallel processing of topic data. This means Kafka can distribute the workload across multiple consumers. For example, in a consumer group, each consumer can be assigned one or more partitions. Kafka also guarantees that events within a single partition are always delivered in the exact order in which they were produced—a key feature when event order matters. To learn more about delivery guarantees, refer to the Kafka documentation on Message Delivery Semantics.
Broker
A Broker is a Kafka server that stores data and handles client requests. Typically, the data is stored and replicated across multiple brokers.
We now have the basic understanding to get started with the setup. However, it’s important to note that Kafka is a powerful and complex system, and what we’re covering here is just a beginner-friendly introduction to help you take your first steps.
Setup
Next up, we will look at how to set up Kafka using Docker and how to build a simple Spring Boot application that consumes and processes Kafka events.
Docker Kafka and Zockeper setup
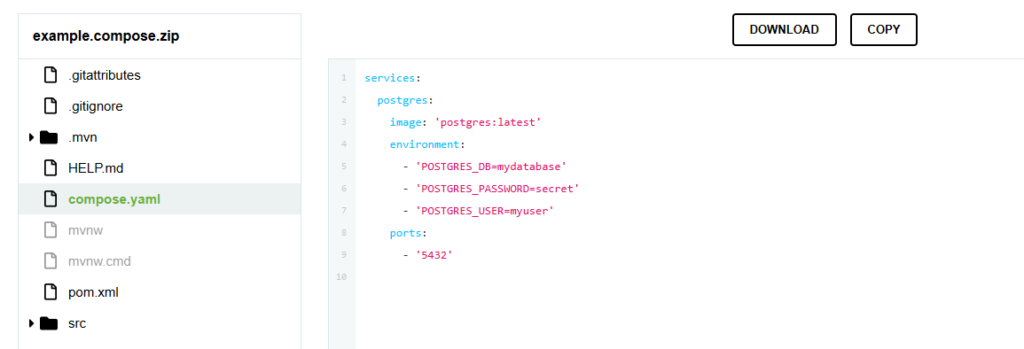
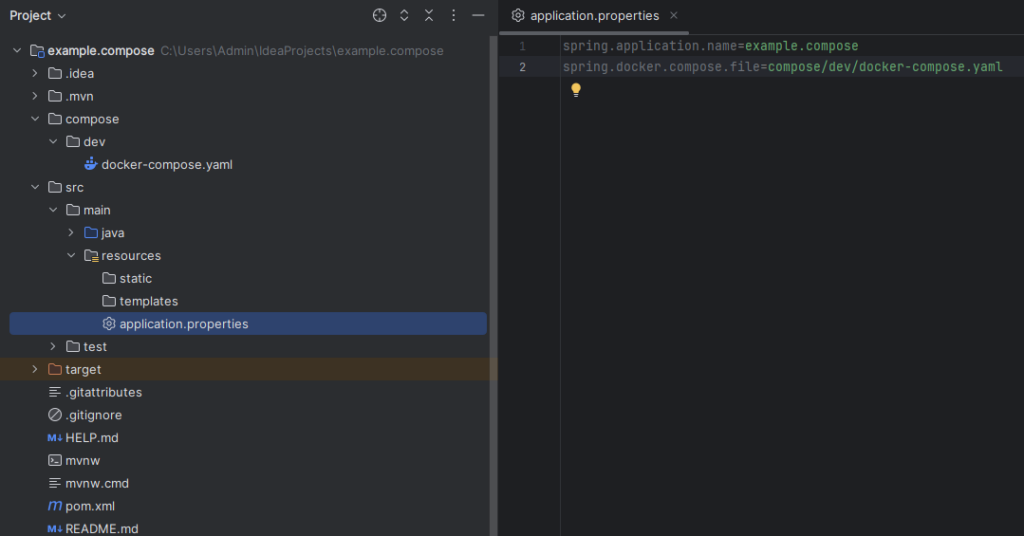
To run Kafka locally, we use Docker Compose to start both Zookeeper and Kafka as containers. Kafka relies on Zookeeper (or KRaft) to manage broker metadata and cluster coordination. The Spring Boot application is configured to support docker compose. This means that when you start the application, Kafka and Zookeeper are automatically started as well.

Note: This is a single-node Kafka setup, suitable for local development and testing purposes. In production, you had use multiple brokers and configure replication and fault tolerance.
services:
  zookeeper:
    image: confluentinc/cp-zookeeper:latest
    environment:
      ZOOKEEPER_CLIENT_PORT: 2181
      ZOOKEEPER_TICK_TIME: 2000
    ports:
      - "2181:2181"

  kafka:
    image: confluentinc/cp-kafka:latest
    depends_on:
      - zookeeper
    ports:
      - "9092:9092"
    environment:
      KAFKA_BROKER_ID: 1
      KAFKA_ZOOKEEPER_CONNECT: zookeeper:2181
      KAFKA_ADVERTISED_LISTENERS: PLAINTEXT://localhost:9092
      KAFKA_LISTENER_SECURITY_PROTOCOL_MAP: PLAINTEXT:PLAINTEXT
      KAFKA_OFFSETS_TOPIC_REPLICATION_FACTOR: 1
Spring Boot Setup
Now let’s configure Kafka in our Spring Boot application. Here is a minimal application.yml configuration:
spring:
  kafka:
    bootstrap-servers: localhost:9092
    consumer:
      auto-offset-reset: earliest
      key-deserializer: org.apache.kafka.common.serialization.StringDeserializer
      value-deserializer: org.apache.kafka.common.serialization.StringDeserializer
This tells Spring Boot where Kafka is running and how to deserialize the messages for the consumer.
Topic
We’ll define our topic directly in the Spring Boot application using a configuration class.
@Configuration
public class KafkaConfig {
  @Bean
  public NewTopic userActivityTopic() {
    return TopicBuilder.name("user-activity")
        .partitions(2)
        .build();
  }
}
This creates a topic named user-activity with 2 partitions.

Event Structure
Here is the Java model representing the event structure our consumers will work with:
class ActivityEvent {
  private String userId;
  private String type;
  private String target;
  private String timestamp;

  // Getters and setters omitted for brevity
}
This will be the format that our Kafka consumer expects in each message.
Consumer
To demonstrate Kafka’s partition-based load balancing, we create two Spring Boot applications running on different ports, each containing a consumer with the same groupId. Kafka will automatically assign different partitions to each instance.
@Service
public class ActivityConsumer1 {
  private final ObjectMapper objectMapper = new ObjectMapper();

  @KafkaListener(topics = "user-activity", groupId = "activity-consumer")
  public void listen(ConsumerRecord<String, String> record) {
    try {
      String json = record.value();
      ActivityEvent event = objectMapper.readValue(json, ActivityEvent.class);
      System.out.printf("Consumer1 - Partition %d: %s - %s%n",
          record.partition(), event.getUserId(), event.getType());
    } catch (Exception e) {
      System.err.println("Consumer1 - Failed to parse event: " + e.getMessage());
    }
  }
}
@Service
public class ActivityConsumer2 {
  private final ObjectMapper objectMapper = new ObjectMapper();

  @KafkaListener(topics = "user-activity", groupId = "activity-consumer")
  public void listen(ConsumerRecord<String, String> record) {
    try {
      String json = record.value();
      ActivityEvent event = objectMapper.readValue(json, ActivityEvent.class);
      System.out.printf("Consumer2 - Partition %d: %s - %s%n",
          record.partition(), event.getUserId(), event.getType());
    } catch (Exception e) {
      System.err.println("Consumer2 - Failed to parse event: " + e.getMessage());
    }
  }
}
Kafka ensures that each partition is only assigned to one consumer in a given consumer group at a time. So, with two consumers and two partitions, each will process a different stream of messages.
Producing Messages to Kafka from the CLI
After entering the Kafka container (docker exec -it … bash), you can use the Kafka console producer to send messages with keys, which will influence how Kafka routes them to partitions.
- Start the Kafka console producer with key parsing enabled:
kafka-console-producer \
  --broker-list localhost:9092 \
  --topic user-activity \
  --property "parse.key=true" \
--property "key.separator=:" - Send messages with different keys
u1:{"userId":"u1", "type":"click", "target":"button", "timestamp":"2024-01-01T12:00:00"}
Z:{"userId":"Z", "type":"view", "target":"page", "timestamp":"2025-01-01T12:01:00"}
Kafka uses the hash of the key to determine the partition:
- Messages with key
u1may go to partition 0 - Messages with key
Zmay go to partition 1

This demonstrates a part of Kafka’s partitioning capability.
Kafka Streams
So far, we’ve covered Kafka brokers and basic clients (producers and consumers). But Kafka has two additional core components:
- Kafka Connect: A tool for importing and exporting data between Kafka and external systems (e.g., databases, file systems, Elasticsearch) using prebuilt or custom connectors. For more details, refer to the Kafka Connect documentation.
- Kafka Streams: A lightweight Java library for processing and transforming data streams directly within your application.
What is Kafka Streams?
As stated in the official documentation:
“The Streams API allows transforming streams of data from input topics to output topics.”
Kafka Streams enables you to filter, map, aggregate, and route messages — all directly within your application — without the need for external stream processing platforms.
Example: Kafka Streams – Spring Boot
The following example demonstrates how to set up a Kafka Streams pipeline in a Spring Boot application. It consumes messages from the user-activity topic, filters out only those with the type “LIKE”, and forwards them to a new topic named likes-only.
@Bean
public KStream<String, String> kStream(StreamsBuilder builder) {
  ObjectMapper mapper = new ObjectMapper();

  KStream<String, String> stream = builder.stream("user-activity");

  stream
      .peek((key, value) -> System.out.printf("Received message: %s%n", value))
      .filter((key, value) -> {
        try {
          JsonNode node = mapper.readTree(value);
          return "LIKE".equalsIgnoreCase(node.get("type").asText());
        } catch (Exception e) {
          System.err.printf("Failed to parse event: %s%n", e.getMessage());
          return false;
        }
      })
      .peek((key, value) -> System.out.printf("Filtered LIKE event: %s%n", value))
      .to("likes-only");

  return stream;
}
If you now send the following event
u1:{"userId":"u1", "type":"LIKE", "target":"button", "timestamp":"2024-01-01T12:00:00"}you will see the following log output

Configuration
Before we can process Kafka messages using the Kafka Streams API, we need to configure the stream application. The following configuration is done in Spring Boot using a @Bean that returns a KafkaStreamsConfiguration. (For detailed information use the official Spring documentation)
@Bean(name = KafkaStreamsDefaultConfiguration.DEFAULT_STREAMS_CONFIG_BEAN_NAME)
public KafkaStreamsConfiguration kStreamsConfigs() {
  Map<String, Object> props = new HashMap<>();
  props.put(StreamsConfig.APPLICATION_ID_CONFIG, "activity-stream-app");
  props.put(StreamsConfig.BOOTSTRAP_SERVERS_CONFIG, "localhost:9092");
  props.put(StreamsConfig.DEFAULT_KEY_SERDE_CLASS_CONFIG, Serdes.String().getClass().getName());
  props.put(StreamsConfig.DEFAULT_VALUE_SERDE_CLASS_CONFIG, Serdes.String().getClass().getName());
  props.put(StreamsConfig.DEFAULT_TIMESTAMP_EXTRACTOR_CLASS_CONFIG, WallclockTimestampExtractor.class.getName());
  props.put(StreamsConfig.consumerPrefix("auto.offset.reset"), "earliest");
  return new KafkaStreamsConfiguration(props);
}
Let’s break this configuration down:
| Property | Description |
|---|---|
APPLICATION_ID_CONFIG | Unique identifier for your Kafka Streams application. It is used to group state stores and consumer groups. |
BOOTSTRAP_SERVERS_CONFIG | Specifies the Kafka broker to connect to (in this case, localhost:9092). |
DEFAULT_KEY_SERDE_CLASS_CONFIG | Tells Kafka how to (de)serialize the key of each record. Here, we use StringSerde for string keys. |
DEFAULT_VALUE_SERDE_CLASS_CONFIG | Same as above, but for the value part of the message. |
DEFAULT_TIMESTAMP_EXTRACTOR_CLASS_CONFIG | Defines how timestamps are extracted from messages. |
auto.offset.reset (via consumerPrefix) | Tells the stream to start reading from the earliest available offset if there is no committed offset yet. This ensures we don’t miss any messages on the first run. |
Summary
In this blog post, we explored how to set up Kafka locally with Docker and integrate it into a Spring Boot application. We configured a topic with multiple partitions, built two consumers using the same group ID to demonstrate Kafka’s partition-based load balancing, and used message keys to control partition routing. Additionally, we introduced Kafka Streams to filter and forward specific events in real time.


